Easy Honey Butter Sandwich Bread Recipe

This easy honey butter sandwich bread recipe is the easiest ever! Have you ever made your very own homemade loaf/loaves of bread? Isn’t it such an amazing experience?
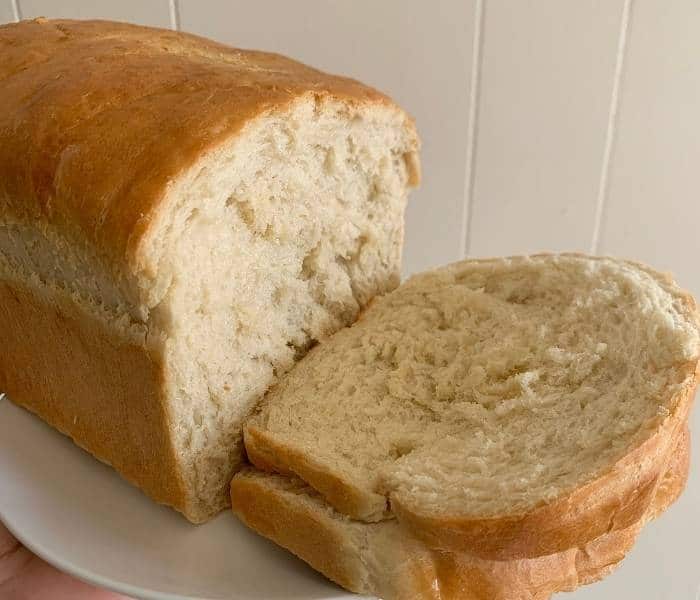
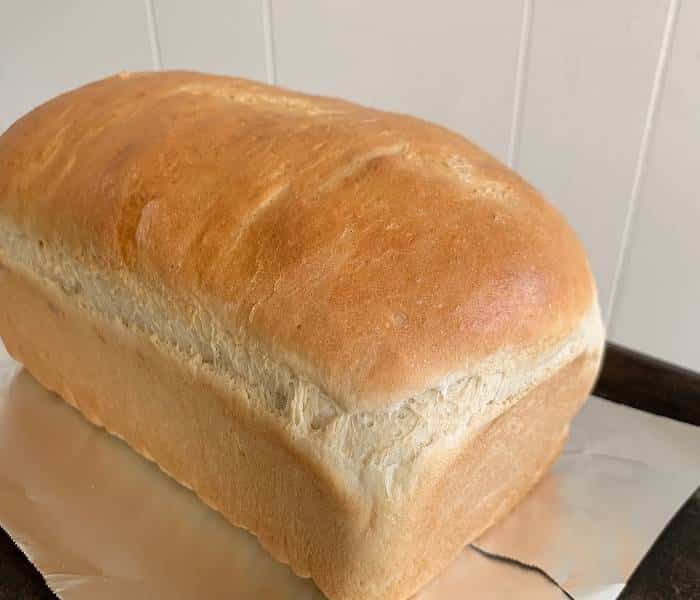
This sandwich bread is perfect for whatever sandwich you’d like to use it for. The texture is sturdy and soft, and it has a lightly sweet honey flavor. You can top it with deli meat and cheese or peanut butter & jelly. Or you can also use it the next day to make toast or French toast with, etc.

Tips on Making French Toast
The next day is better to use homemade bread to make French toast, because the texture of the bread is more settled and sturdier. This helps the bread to be easier to slice. And also for it to be able to hold together after you dip it into the egg mixture.
Even if you don’t use day-old homemade bread, most French toast recipes suggest that you use challah or brioche breads. This is because these breads are sturdy in texture. And they can absorb the egg mixture without falling apart easily.
Have you ever tried using fresh homemade or a very soft bread to make French toast? Let me assure you that it can be pretty difficult. And the bread gets all mushy and basically disintegrates in your hands. That’s not what we want..
Can I Use Active Dry or Instant Yeast To Make This Bread?
Either of these two yeast types will work for this easy honey butter sandwich bread recipe. A popular yeast brand that I often use for my bread recipes is by Fleischmann’s. It’s sold in almost all grocery stores.
Both active dry and instant yeast can be used interchangeably in all bread recipes. The main difference between the two is that the instant yeast granules are smaller than the active dry ones. Therefore you can add instant yeast straightaway with the other ingredients before proceeding with a recipe.
On the other hand, active dry yeast granules are larger. And they need to be more broken down for the yeast to be effective in a recipe. Most bread recipes instruct you to add yeast to warm water. And then let it sit a few minutes before adding any other ingredients. This is usually when active dry yeast is used.
There’s Nothing Really Complicated About Using Yeast
As you can see, there’s really nothing complicated or hard about using yeast. Just make sure that all liquids used for the bread recipe are on the warm side. Not too hot or too cold.
If you’d like to make sure your water temperature is exactly correct, just use a food thermometer to check it. Make sure that the temperature is between 100-115 degrees F (source). Then after that, let the yeast activate in the water. This will take roughly five minutes.
You will see that the yeast turns foamy. This is a great sign to let you know that your yeast is working well.
*A tip: If you don’t see any foam, then most likely you need to buy new yeast. Always check the expiration dates on your yeast packages and store the yeast in a cool dry area to keep it fresh longer*
Honey Whole-Wheat Sandwich Bread Recipe Recommendation:
I also have a honey whole-wheat sandwich bread recipe that I highly recommend. This bread is wholesome and tasty with a lightly crispy outer crust. And it’s soft and chewy on the inside. It’s also perfect for any sandwich you’re in the mood for, or even toast (the next day).
Let me assure you – this sandwich bread is super easy to make as well. And the recipe directions are pretty straightforward and easy to follow.
Homemade Bread Storage
I would suggest that you store your homemade bread in a large ziplock bag or other sealed container at room temperature for 1-2 days. Before this, make sure that the bread is thoroughly cooled down – which may take a few hours.
In addition, I recommend that you store your homemade bread at room temperature, and to not refrigerate it. The bread will likely dry out and the texture be affected at a very cold temperature.
Easy Honey Butter Sandwich Bread Recipe Ingredients:
Compared to most store-brought breads, you only need just a few ingredients to make homemade bread.
The ingredients that you need to make this easy honey butter sandwich bread recipe include only:
- Bread Flour
- All-Purpose Flour
- Salt
- Water
- Melted Butter (only 1 1/2 tbsp): For a dairy-free/vegan loaf make sure to use a dairy-free butter alternative.
- Honey: Or substitute sugar for a vegan loaf.
- Active Dry Yeast
More Easy Homemade Bread Recipes For You to Try
I hope you find this easy honey butter sandwich bread recipe very simplistic and easy to make. I would also appreciate any feedback or comments that you may have about this bread recipe. God bless!

Easy Honey Butter Sandwich Bread Recipe
Ingredients
- 1 1/4 cups + 2 tbsp warm water between 110-115 degrees(!) or sub 1/4 cup of the water for warm milk (dairy or dairy free). This will help the bread to be even more soft and moist.
- 1 1/2 tbsp melted butter (or vegan butter alternative)
- 2 1/2 tbsp honey (or sugar if vegan)
- 2 1/2 tsp active dry yeast equivalent to one packet
- 3 3/4 cups + 3 tbsp all-purpose flour
- 1 1/4 tsp salt
Instructions
- In small bowl combine the active dry yeast, warm water, and honey (or sugar). Let the mixture sit for five minutes until it gets foamy.*If you choose to use instant yeast, just combine the yeast together with the warm water and honey or sugar and set aside while you prepare the dry ingredients*
- In large mixing bowl, thoroughly combine all of the dry ingredients (flours-salt). Add in the yeast mixture and combine until a dough forms.*At this point, move the dough to a flour covered surface and sprinkle a little more on top to facilitate kneading it*
- Knead the dough by hand for 8-10 minutes. Or if you have a bread maker – you should be fine using that.The dough shouldn’t be too sticky after you’re finished kneading it.If necessary, sprinkle a tad (up to 1/2 tbsp) more flour over the dough during the kneading process.
- Grease or oil the bowl that you took the dough out of. Return the ball of dough to the bowl, and roll it around to coat it all over with the oil/grease. *This will help it be more easy to work with later on*Loosely cover the bowl and let it sit until the dough is doubled in size. This should take around 45 minutes..
- After the 45 minutes, on a floured surface; form the dough with your hands (or rolling pin) into a rectangular shape.Tightly roll the dough into a longish cylinder shape. Make sure you tuck the ends of the dough in – so it will fit into the pan.Place the dough into a greased 9×5 inch loaf pan (use your fingers to make sure it’s all the way in). Cover the pan and let it sit for 30 minutes (after 10 minutes – preheat your oven to 375 degrees) until the dough has risen about an inch above the top of the pan.
- *If you’d like – brush the top of the loaf gently with an egg wash (an egg white combined with 1/4 teaspoon water) or a little melted butter before baking. This will give the crust a shinier look*Bake the bread for 15 minutes at 350 degrees. After 15 minutes is up – cover the bread loosely with foil. Bake the loaf for 15 more minutes until dark golden brown.
- Let the bread cool for a few minutes in the pan first, then remove it and place on a wire rack or other surface to cool completely before slicing or storing. This make take roughly 2-3 hours.**If you’re in an air conditioned or cool environment, it should take less time to cool*
